Transferring many small files over the Internet is not very convenient. It is for this reason that various assemblies of operating systems can be downloaded from the Internet in the form of an image saved in ISO format. The downloaded image can be stored on a computer or written to any device, so you can make a bootable Windows flash drive or disk.
If you have a disk, for example, with a game or various programs, you can create an ISO image from the disk, which will completely preserve the files and its structure. Then, using special programs, for example Alcohol 120% or Daemon Tools, you can launch the created image through . If over time you need to burn a disc from the image you created, read the article on this topic by following the link.
In this article we will look at how you can make an ISO image from files and folders. In this form, it is more convenient to transfer them over the network, and the image transfer speed will be higher than each file separately.
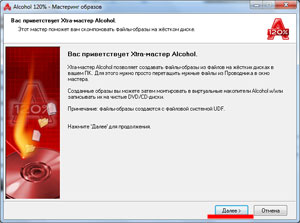
First, let's look at creating an ISO image using the Alcohol 120% program. You can read the description on our website by following the link.
In the menu on the left, click on the button "Image Mastering".
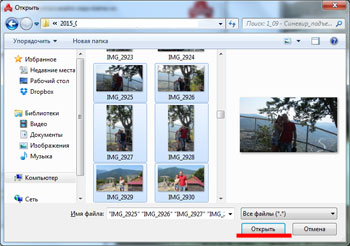
To create an image from files, click on the “Add files” button. If you need to create an ISO image from a folder, click "Add folder".

Select the desired files or folders on your computer and click Open.
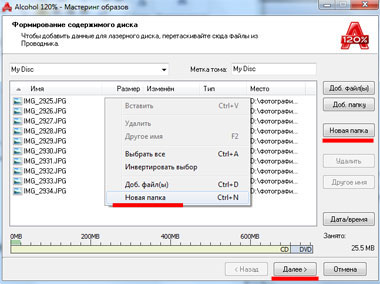
You can create folders in the program itself, and then add files to them. To do this, right-click in the program window and select “New Folder” from the menu. You can also use the corresponding button located on the right side.
Once you have added all the files, click Next.
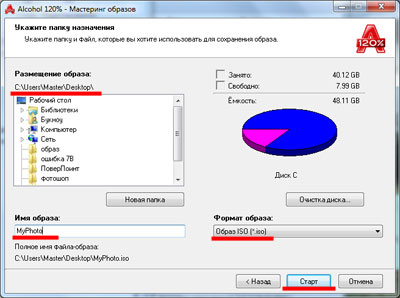
Next, specify the location on your hard drive where you want to save the created ISO image. In the "Image format" field, select "ISO image" from the drop-down list. You can change the "Image name". Click Start. I'll name the image "MyPhoto" and save it to my desktop.
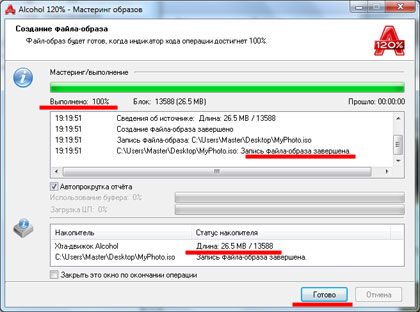
Wait for the process to complete. In the same window you can see how much space the created ISO image takes up on your computer. Click Done.
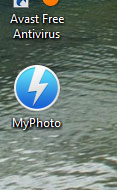
Now I have the created image in ISO format on my desktop.
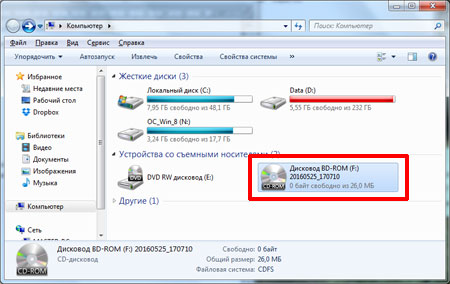
By double-clicking on it, you can mount the image into a virtual drive and view the files stored in it. Please note that the amount of memory in the virtual drive corresponds to the size of the created image.
Now let's take a look, how to make an ISO image using the UltraISO program. It is the most popular program that is used to create images, edit them and burn them to disk.
Launch UltraISO. At the bottom of the program window, find the files and folders you need on your computer and drag them to the top area. You can also select them and click on the “Add” button.
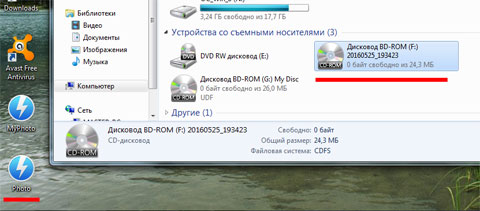
The image will be saved in the specified location. It can also be mounted into a virtual drive.
I think now you understand how, using the programs described, you can create an ISO image from files and folders that are stored on your computer.
Watch the video


